The Exposure Triangle Cheat Sheet
Apr 21, 2026
One of the most challenging concepts to understand as a new videographer or photographer is the Exposure Triangle. It’s a combination of three settings within your camera, and they all have to do with light. So why are there 3 settings and not just one you might ask? Well, that’s because they each do something different to the light that is coming into your camera, and all 3 of them must be used together in order to capture a clear image.
Side note: if you’re taking photos or video on a smartphone, this won’t apply to you. That is because your phone has software built in to automatically expose for every environment. Essentially, it’s capturing a bunch of images at one time, exposing for the darkest areas on up to the brightest areas, then layering the image into one composite photo that looks perfectly exposed, all with the push of a button. Pretty cool, huh! The problem here is that you have little to no control over the exposure, which can frustrate the creative process.
The Exposure Triangle is like a three-legged table consisting of ISO, Shutter Speed, and Aperture. All three must work together so that your table remains balanced and we’re going to simplify each one, starting from the inside out…
What is ISO?
ISO is the most confusing part of the Exposure Triangle, in my opinion. It stands for ‘International Organization for Standardization’ which does not sound even remotely camera-related, not to mention the acronym is ISO, not IOS! We’re off to a great start.
All joking aside, ISO is simply your camera sensor’s sensitivity to light. Every camera receives light that travels through a lens where it eventually meets a rectangular sensor where the final image is captured. The ISO ranges anywhere from 100 to 50,000+ but most photography and videography will sit closer to 500-1200. The higher the number, the more sensitive your sensor will be to the light coming through. Put another way, the higher the number, the brighter the image.
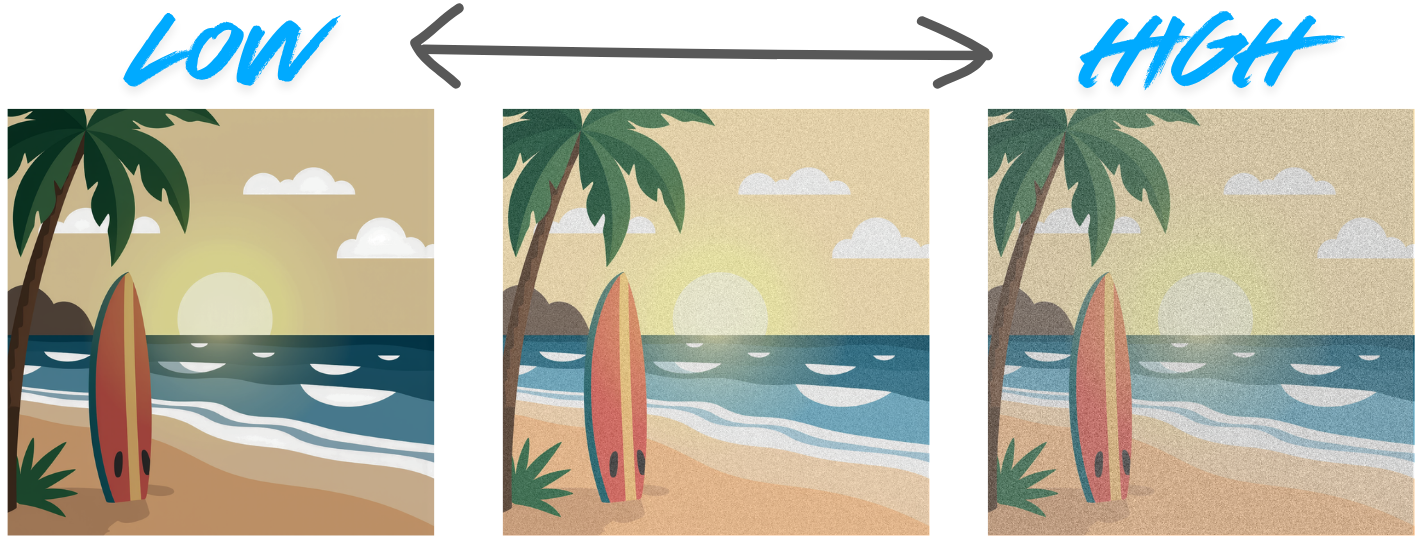
It is important to note that an increased ISO can introduce grain or ‘noise’ into your image. The ISO is not creating the noise, but increasing your camera sensor’s sensitivity to light means it will begin to see things you don’t necessarily want it to see. A good rule of thumb is to keep your ISO as low as possible, adjusting your shutter speed and aperture to increase brightness as needed. If you primarily shoot video in a controlled environment where lighting is consistent, figure out the lowest ISO that looks best in your camera (mine is usually between 600-800), set it and forget it.
What is Shutter Speed?
Next on our list is Shutter Speed. Contrary to ISO, I find shutter speed to make the most sense in the Exposure Triangle, because it does what it says. That said, before we can discuss what it does, we first need to understand how it works. Are you tracking me?
Just like how every camera has a sensor, they also have a shutter of some kind. Traditionally, this was a mechanical component that sat in front of the sensor with a little mirror. That mirror would reflect the light coming through the lens, up into a prism and out the viewfinder to your eyeball (still the case with DSLR cameras). Once the shutter button was pressed, that mirror would flip up and out of the way, allowing your sensor to momentarily receive the light needed to capture the image. With newer technology, the shutter is electronically built into the sensor and mirrors are no longer needed (hence the term ‘mirrorless’ camera). Regardless of whether your camera has a mechanical or electronic shutter, the shutter speed concept remains the same.
Think of a shutter curtain like an eyelid that opens and closes. If you’ve ever looked at the sun (don’t worry, we’ve all done it), you likely only held your gaze for a split second. Any longer and the amount of light becomes painful (also, please don’t go looking at the sun for this example). Shutter speed works the same way. A slower shutter speed simply means light has more time to flood the sensor, creating a brighter image. A faster shutter speed restricts the light coming in, which will effectively darken your final image. But wait, there’s more…
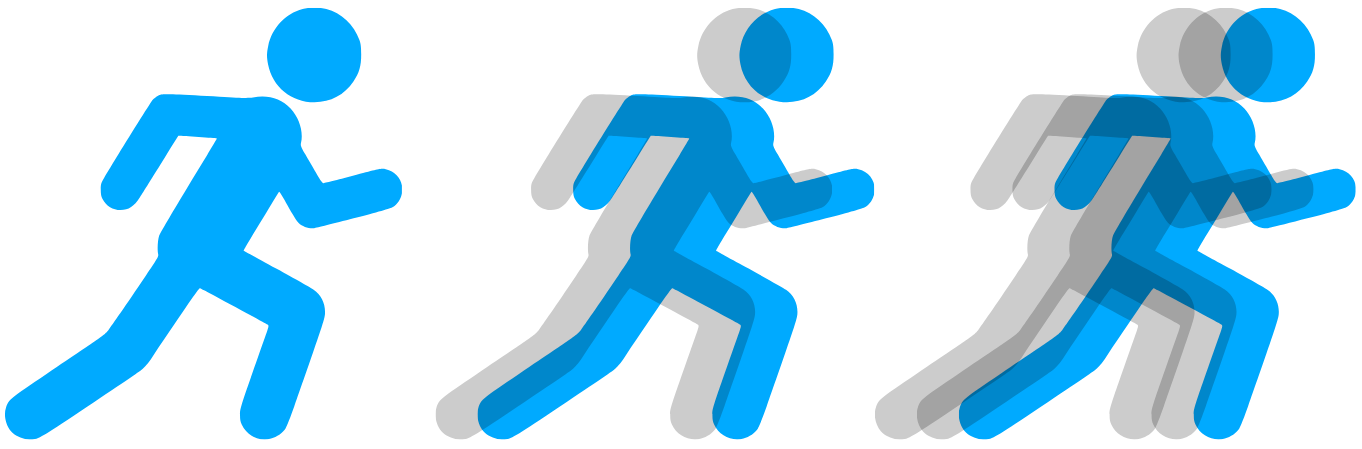
Shutter speed is directly attributed to motion blur. If you’re filming (or photographing) lots of action like sports, fast cars, or even children playing, a fast shutter speed is required, otherwise the movement will be recorded and your subjects will come out as a blurry mess. The best way to get this right is by correlating shutter speed with action speed. The faster the action = the faster the shutter.
What is Aperture?
So your ISO is set, but since you’re filming an action scene with lots of movement, you had to increase your shutter speed which made your image too dark. Luckily, we have one more lever to pull in our Exposure Triangle, and that is of course, aperture. 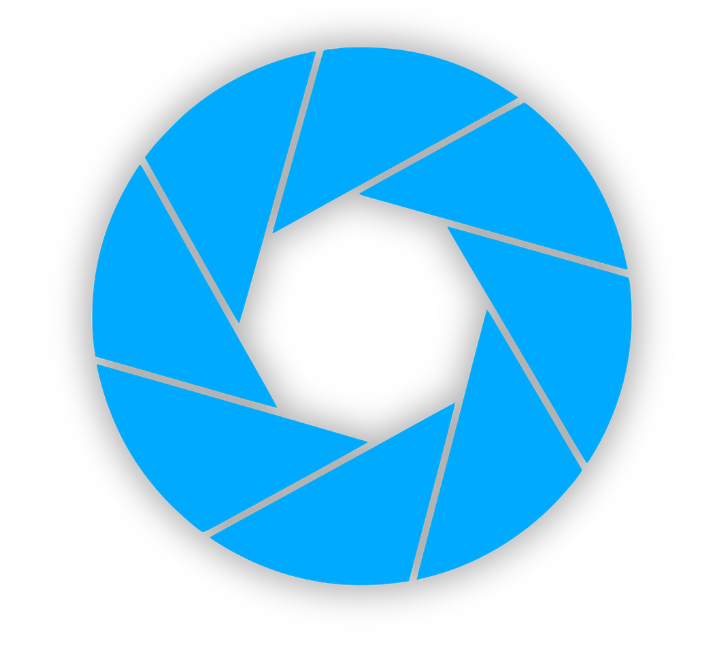
Aperture is the last line of defense (or first depending on which way you look at it), when it comes to allowing light into your camera. It actually sits within your camera lens and is the size of the hole that opens or closes to allow more or less light through. Going back to our eyeball example, the aperture would be your pupil that restricts or dilates to adjust for light or dark settings. It is measured in “stops” of light which is calculated by your focal length divided by the diameter of the hole (pupil) and this is what determines your camera’s focus point.
As you open to a ‘wider’ aperture, your image will become brighter because you are increasing the size of the hole that is allowing light into your camera. Conversely, as the hole gets smaller for a more ‘narrow’ aperture, less light will get to your camera sensor making the image darker. The closer your f-stop number gets to 1, the larger the hole and the brighter your image. For example, f/2.8 is considerably brighter than f/16 or f/22. So where does the focus point come into the mix?
Due to the physics of light, a wide-open aperture creates a shallow depth of field. This means that your subject may be in focus while the background and foreground can have a soft blur to them. This is known as a bokeh in photography and videography. Now if we flip things around and close up our aperture, it will create a much wider depth of field, bringing everything into focus.
Your Exposure Triangle Cheat Sheet
Do you need a nap after all that? I remember learning about the Exposure Triangle years ago from a good friend and video producer. It was overwhelming and much like learning a foreign language. Fortunately, most cameras have an “automatic mode” so that you can take great photos and video right out of the box until you can figure out the rest. Be careful not to hang out in this mode too long, though. I’ve found that the best way to learn something new, is to prevent yourself from jumping back to what’s comfortable. Don’t be afraid to switch your camera to manual mode and capture some bad images. It’s important to see how each setting affects your exposure for better or for worse.
Well friend, even though we have a better comprehension of the Exposure Triangle, it can still be challenging to put this all into practice. Especially when you have a client staring back at you expecting a certain result. To help set you at ease, I’ve provided the Exposure Triangle Cheat Sheet below. These are quick reminders of how everything works, and tips for how to use them.
- ISO: a camera sensor’s sensitivity to light
- Higher ISO = brighter image = more noise (grain)
- Lower ISO = darker image = less noise
- Most video can be filmed between ISO 500 - 1200
- Shutter Speed: how fast or slow a camera’s shutter curtain opens and closes
- Faster shutter speed = darker image = less motion blur
- Great for fast action like sports, cars, kids, etc.
- Slower shutter speed = brighter image = more motion blur
- Great for interviews and portraits
- Aperture: the size of the pupil allowing light in from the camera lens
- Wider (larger) aperture = brighter image = shallow depth of field (focus)
- Narrow aperture = darker image = wider depth of field
As with everything, practice makes all the difference. Find a dimly-lit room and adjust your exposure until you have a clear, visible image. Then head outside and try to do the same. Before you know it, you’ll be adjusting your exposure like a pro resulting in content that is nothing short of amazing.
Discover The 6 Steps to Creating Pro Video Without Pro Gear
Enter your name and email below to receive your free 18-page PDF guide,
"6 Steps to Creating Better Video"
We hate SPAM. We will never sell your information, for any reason.
