How to Prepare for Travel
Jan 27, 2026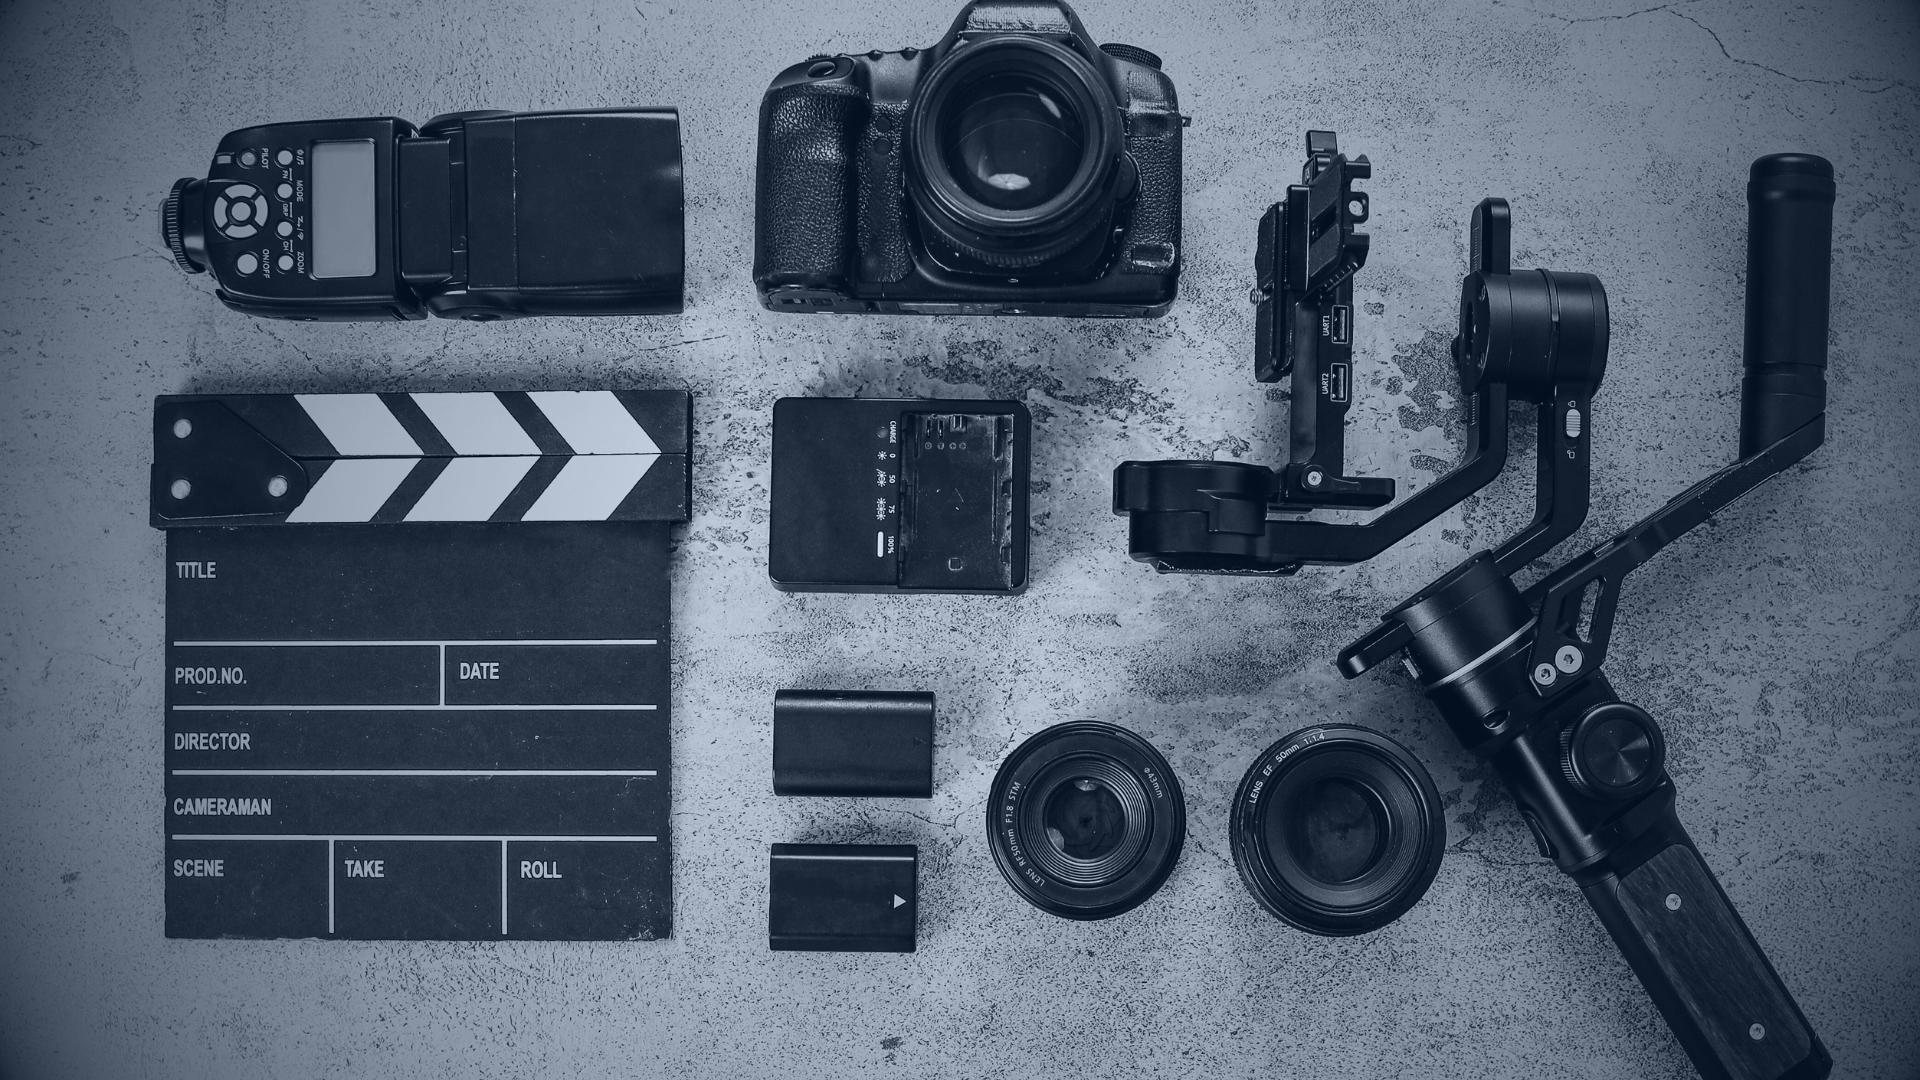
Filming in a studio is outrageously convenient. Especially when you own it and clients are willing to come to you. The setup is practically nonexistent, pending a few minor adjustments to lighting, audio, and camera angles, making production a breeze even for small teams.
The harsh reality is that most of us don’t have access to a production studio and you may be a solo videographer taking every gig you can get. If you have the opportunity to film a big client and earn a handsome wage for your work, don’t let the fear of traveling slow you down! Let’s unpack everything you need to know when traveling for a shoot in just three simple steps.
Step #1 - Visualize the Shoot
Before we go any further, I need to say that none of this works without proper due diligence. These three steps are contingent on making sure you’ve asked all the right questions during your scoping phase with the client. The point of this is to have a complete understanding of the entire shoot from start to finish.
Assuming you have all the information you need, it’s time to visualize the shoot. In your mind, you’ll need to imagine the camera angle (or angles), lighting, and audio. Are there multiple subjects speaking that require more than one microphone? Will you mic with two sources (such as a shotgun and lavalier system) as recommended? What type and style of lighting will you be using? Do these lights sit on stands?
This practice offers two benefits — it helps you think of all the little things you otherwise might overlook (i.e. extra batteries, memory cards, mic cables, tripods, etc), and it prevents you from overpacking unnecessarily. Better to figure out what’s missing before you ever leave the house/office!
Step #2 - Make a List
Once you’ve nailed down the entire shoot in your mind, write it all down. Everything. Start with the main items, then list out the accessories based on what’s needed for your production. Here is a packing list from my latest travel shoot as an example:
- Video
- Canon EOS R8 (1)
- Tripod
- Lenses
- 24-50
- 28-70
- Lens cleaner
- Batteries
- V-mount (1)
- USB-C charger
- LP-E17 (2)
- Wall charger
- Memory cards
- 256 GB (primary)
- 128 GB (secondary)
- Audio
- Microphones
- Rode NTG-2
- Mic stand clip
- Boom stand
- Canon E100
- Lavalier 2-mic system
- Charging case
- Audio interface
- Zoom H4 essential
- AA batteries (12)
- 20ft XLR cable
- Lighting
- Soft boxes (2)
- Bulbs (2)
- Light stands (2)
- Mini RGB panels (2)
- USB-C charger
You’ll notice I started with generic terms like “video” and “audio” and “lighting,” but then I got really specific when describing each item. I even listed the quantity of each item so that I knew exactly what to pack and could take inventory of my gear once I made it to my destination. By breaking things down at this level, you will quickly see what’s missing. You’ll then be able to validate that you have everything you need for a successful shoot, without overpacking.
Step #3 - How to Pack
When packing your gear, you’ll really only need to pay attention to the safety of your gear, but if you’re flying, there are certain items that cannot go in your checked bag and must be stowed in a carry on.
I would highly recommend a camera bag with padded and customizable compartments. This will keep your gear safe and secure while hopping into different vehicles or walking long distances. If you are flying, bigger items like stands and tripods can go in a larger, checked bag, but just about all batteries will need to stay with you in a carry on bag. You’ll also want to keep your camera close by as that is likely your most expensive piece of equipment. Try to pad fragile items or wrap them in clothes to further protect them, and keep your packing list handy so that you can take stock of everything once you’ve reached your destination. When in doubt, you can check the TSA website to see which items are allowed where, and which items are prohibited altogether.
Measure Twice, Cut Once
Video production isn’t for the feint of heart. Especially if you are flying solo, you’re wearing all the hats. You’re responsible for bringing the right gear, understanding how to set it all up, directing your clients and subjects on camera, artfully executing production, and in many cases, taking the audio and footage back to your computer to fulfill the role of editor. That’s a lot. But not impossible.
There is an old construction adage that says, “measure twice, cut once.” The idea being that once you cut a piece of wood, you can’t put it back together so it’s best to be sure before you cut. If you’re traveling, do yourself the favor of visualizing the shoot, writing out your list, and confirming you’ve packed the right gear and nothing more. You’ll be happy you did.
Follow these steps and the only thing you’ll have to worry about is creating something amazing.
Discover The 6 Steps to Creating Pro Video Without Pro Gear
Enter your name and email below to receive your free 18-page PDF guide,
"6 Steps to Creating Better Video"
We hate SPAM. We will never sell your information, for any reason.
